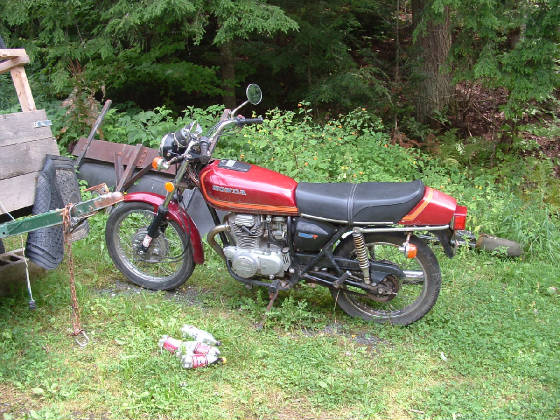
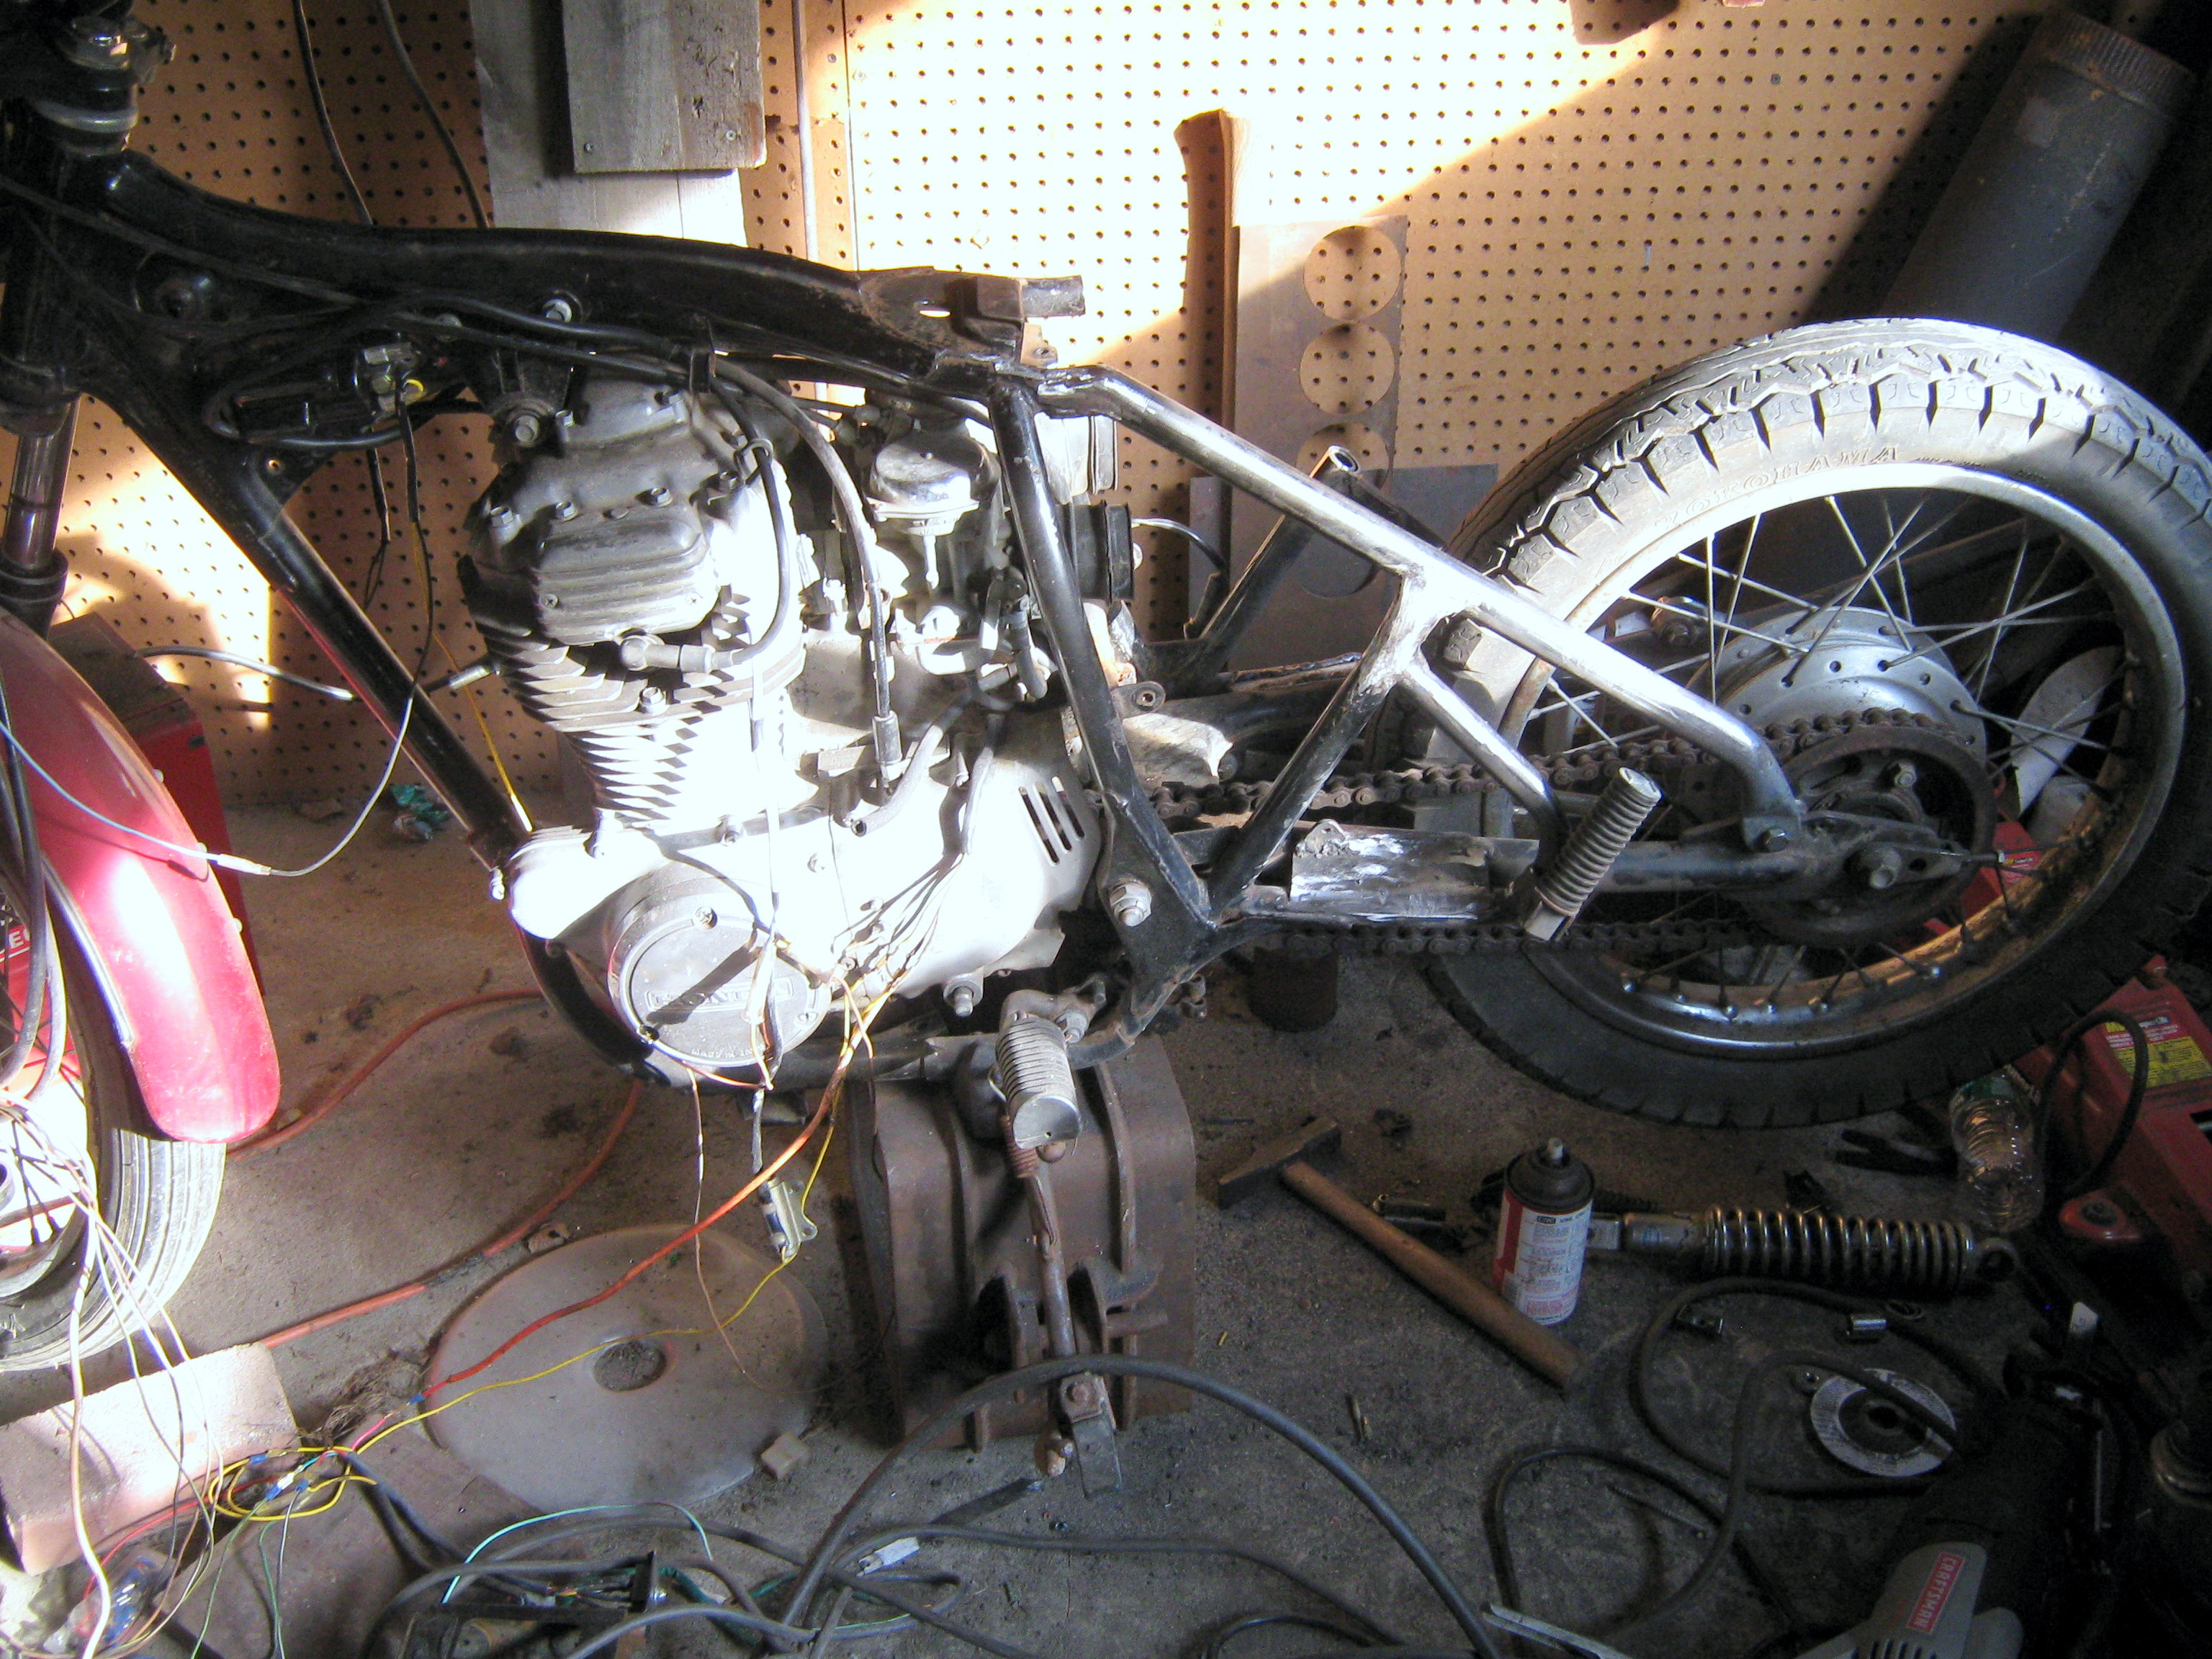
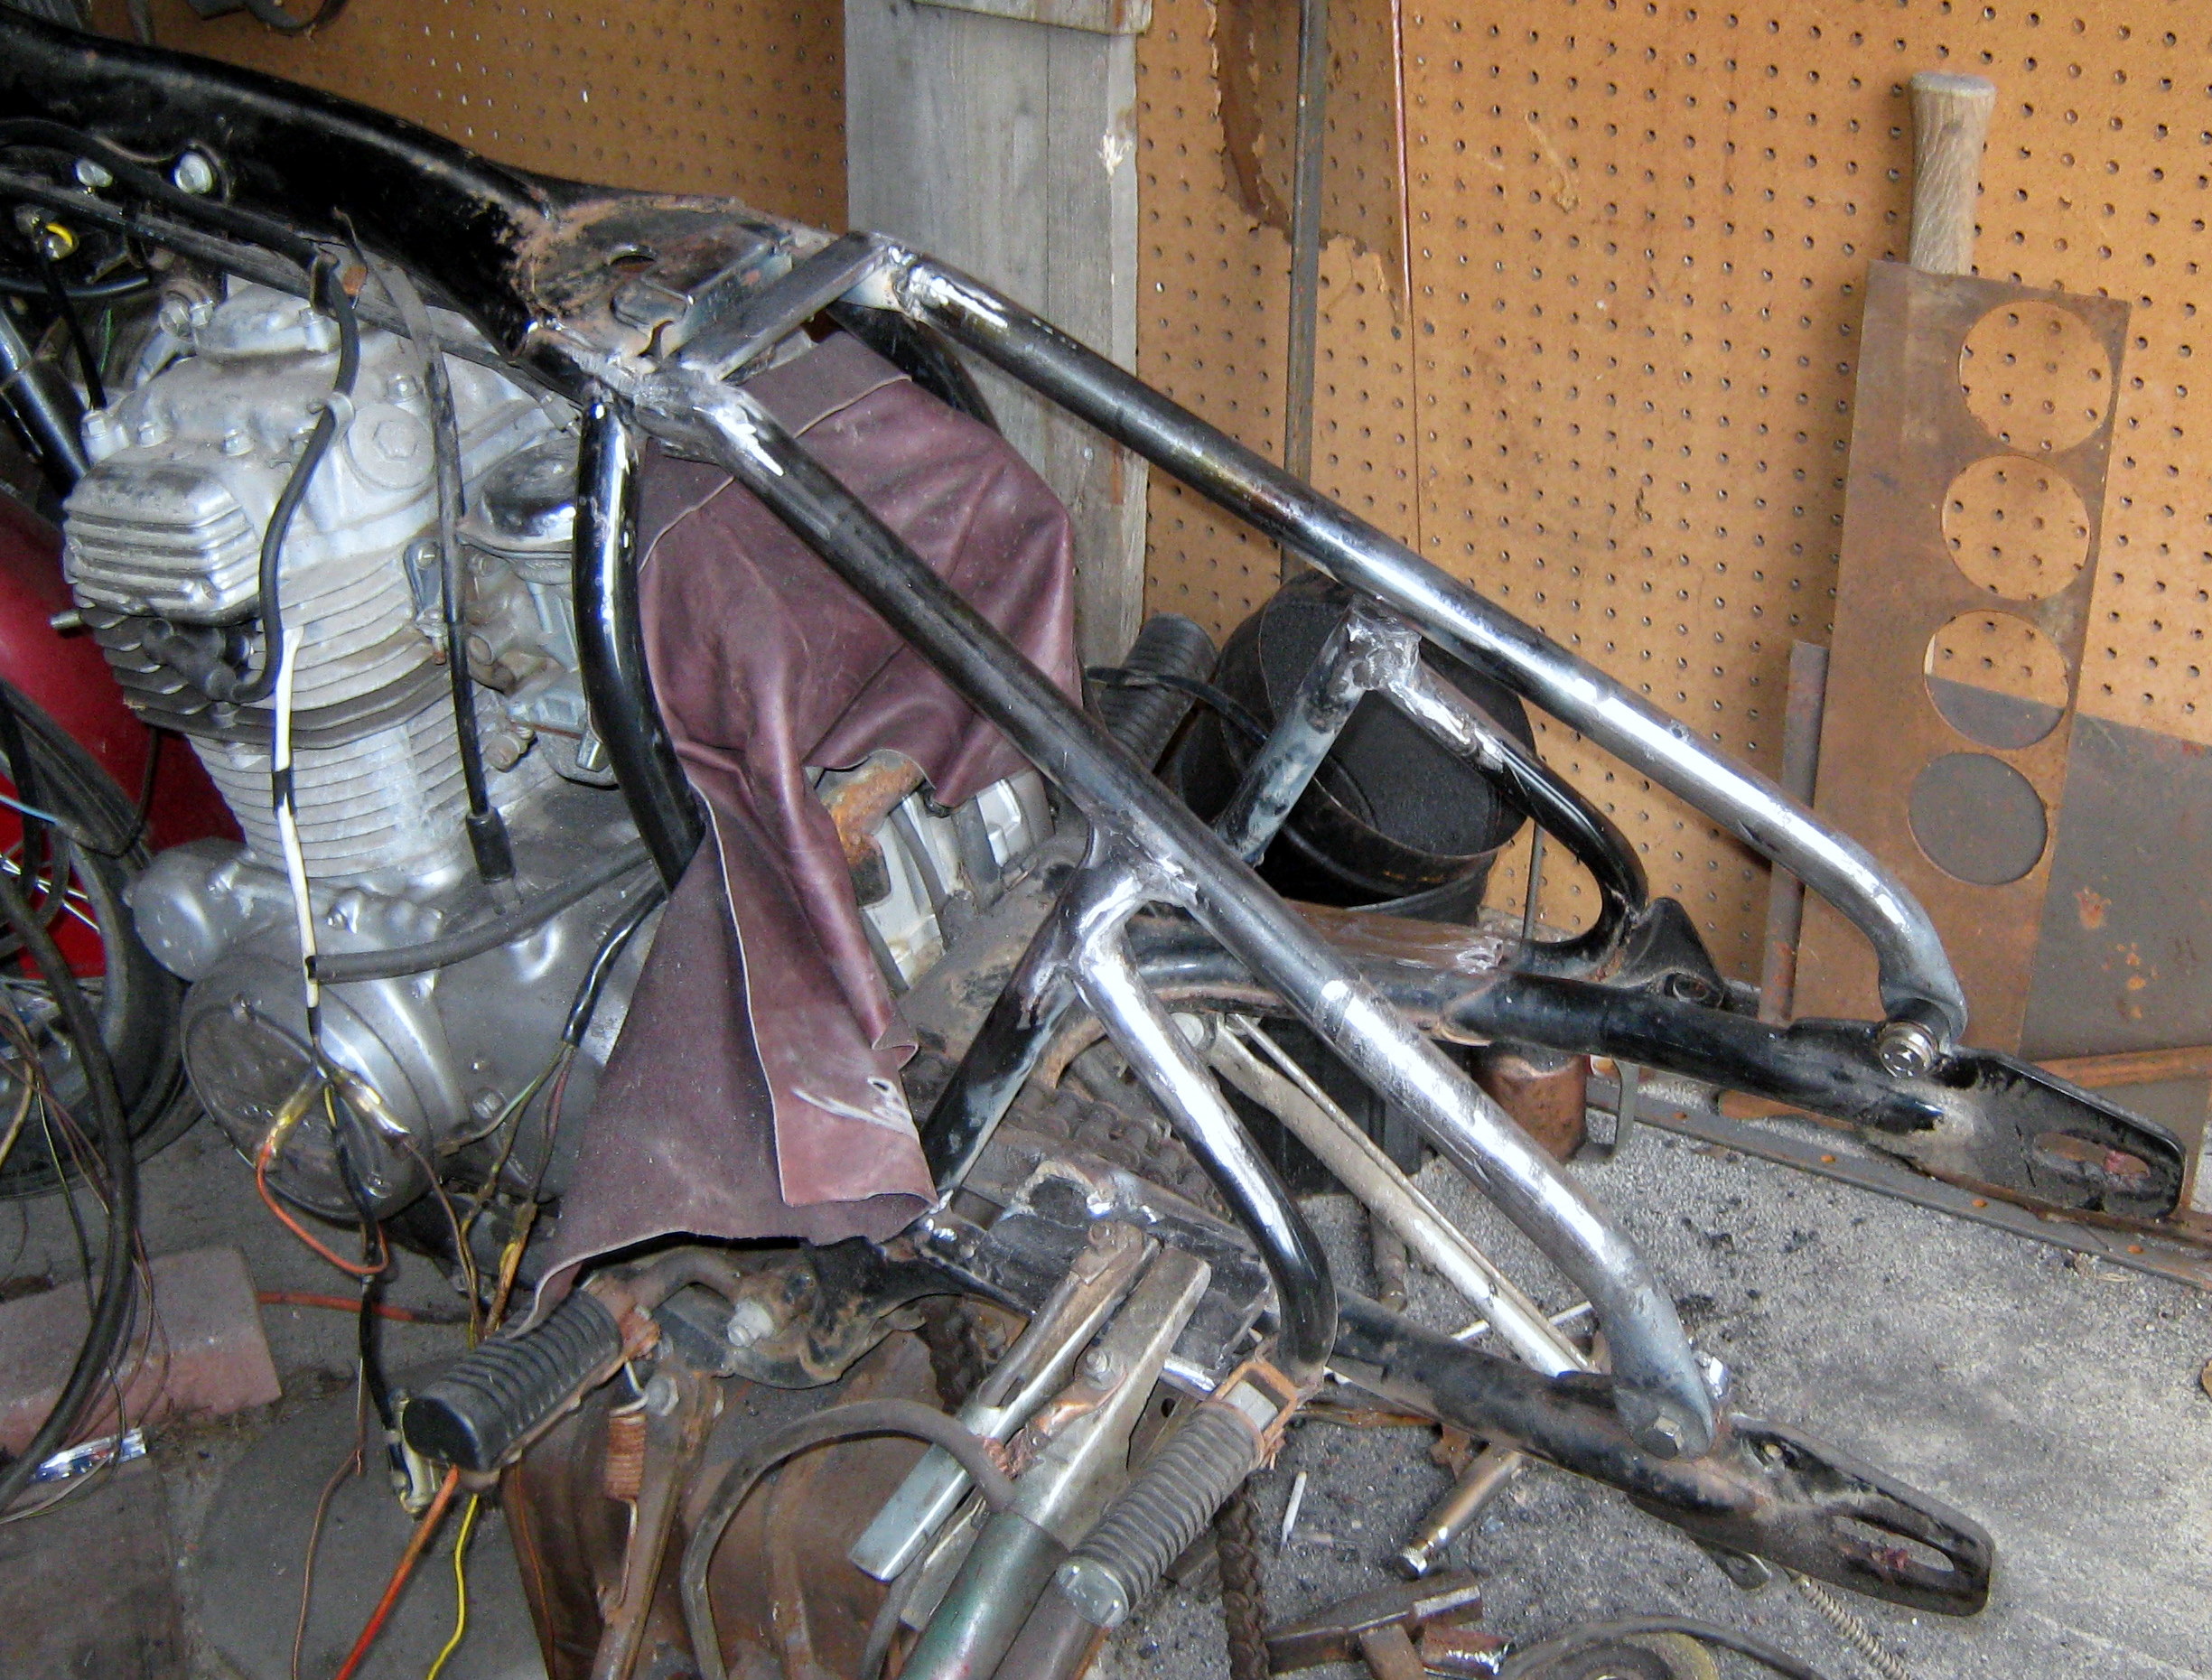
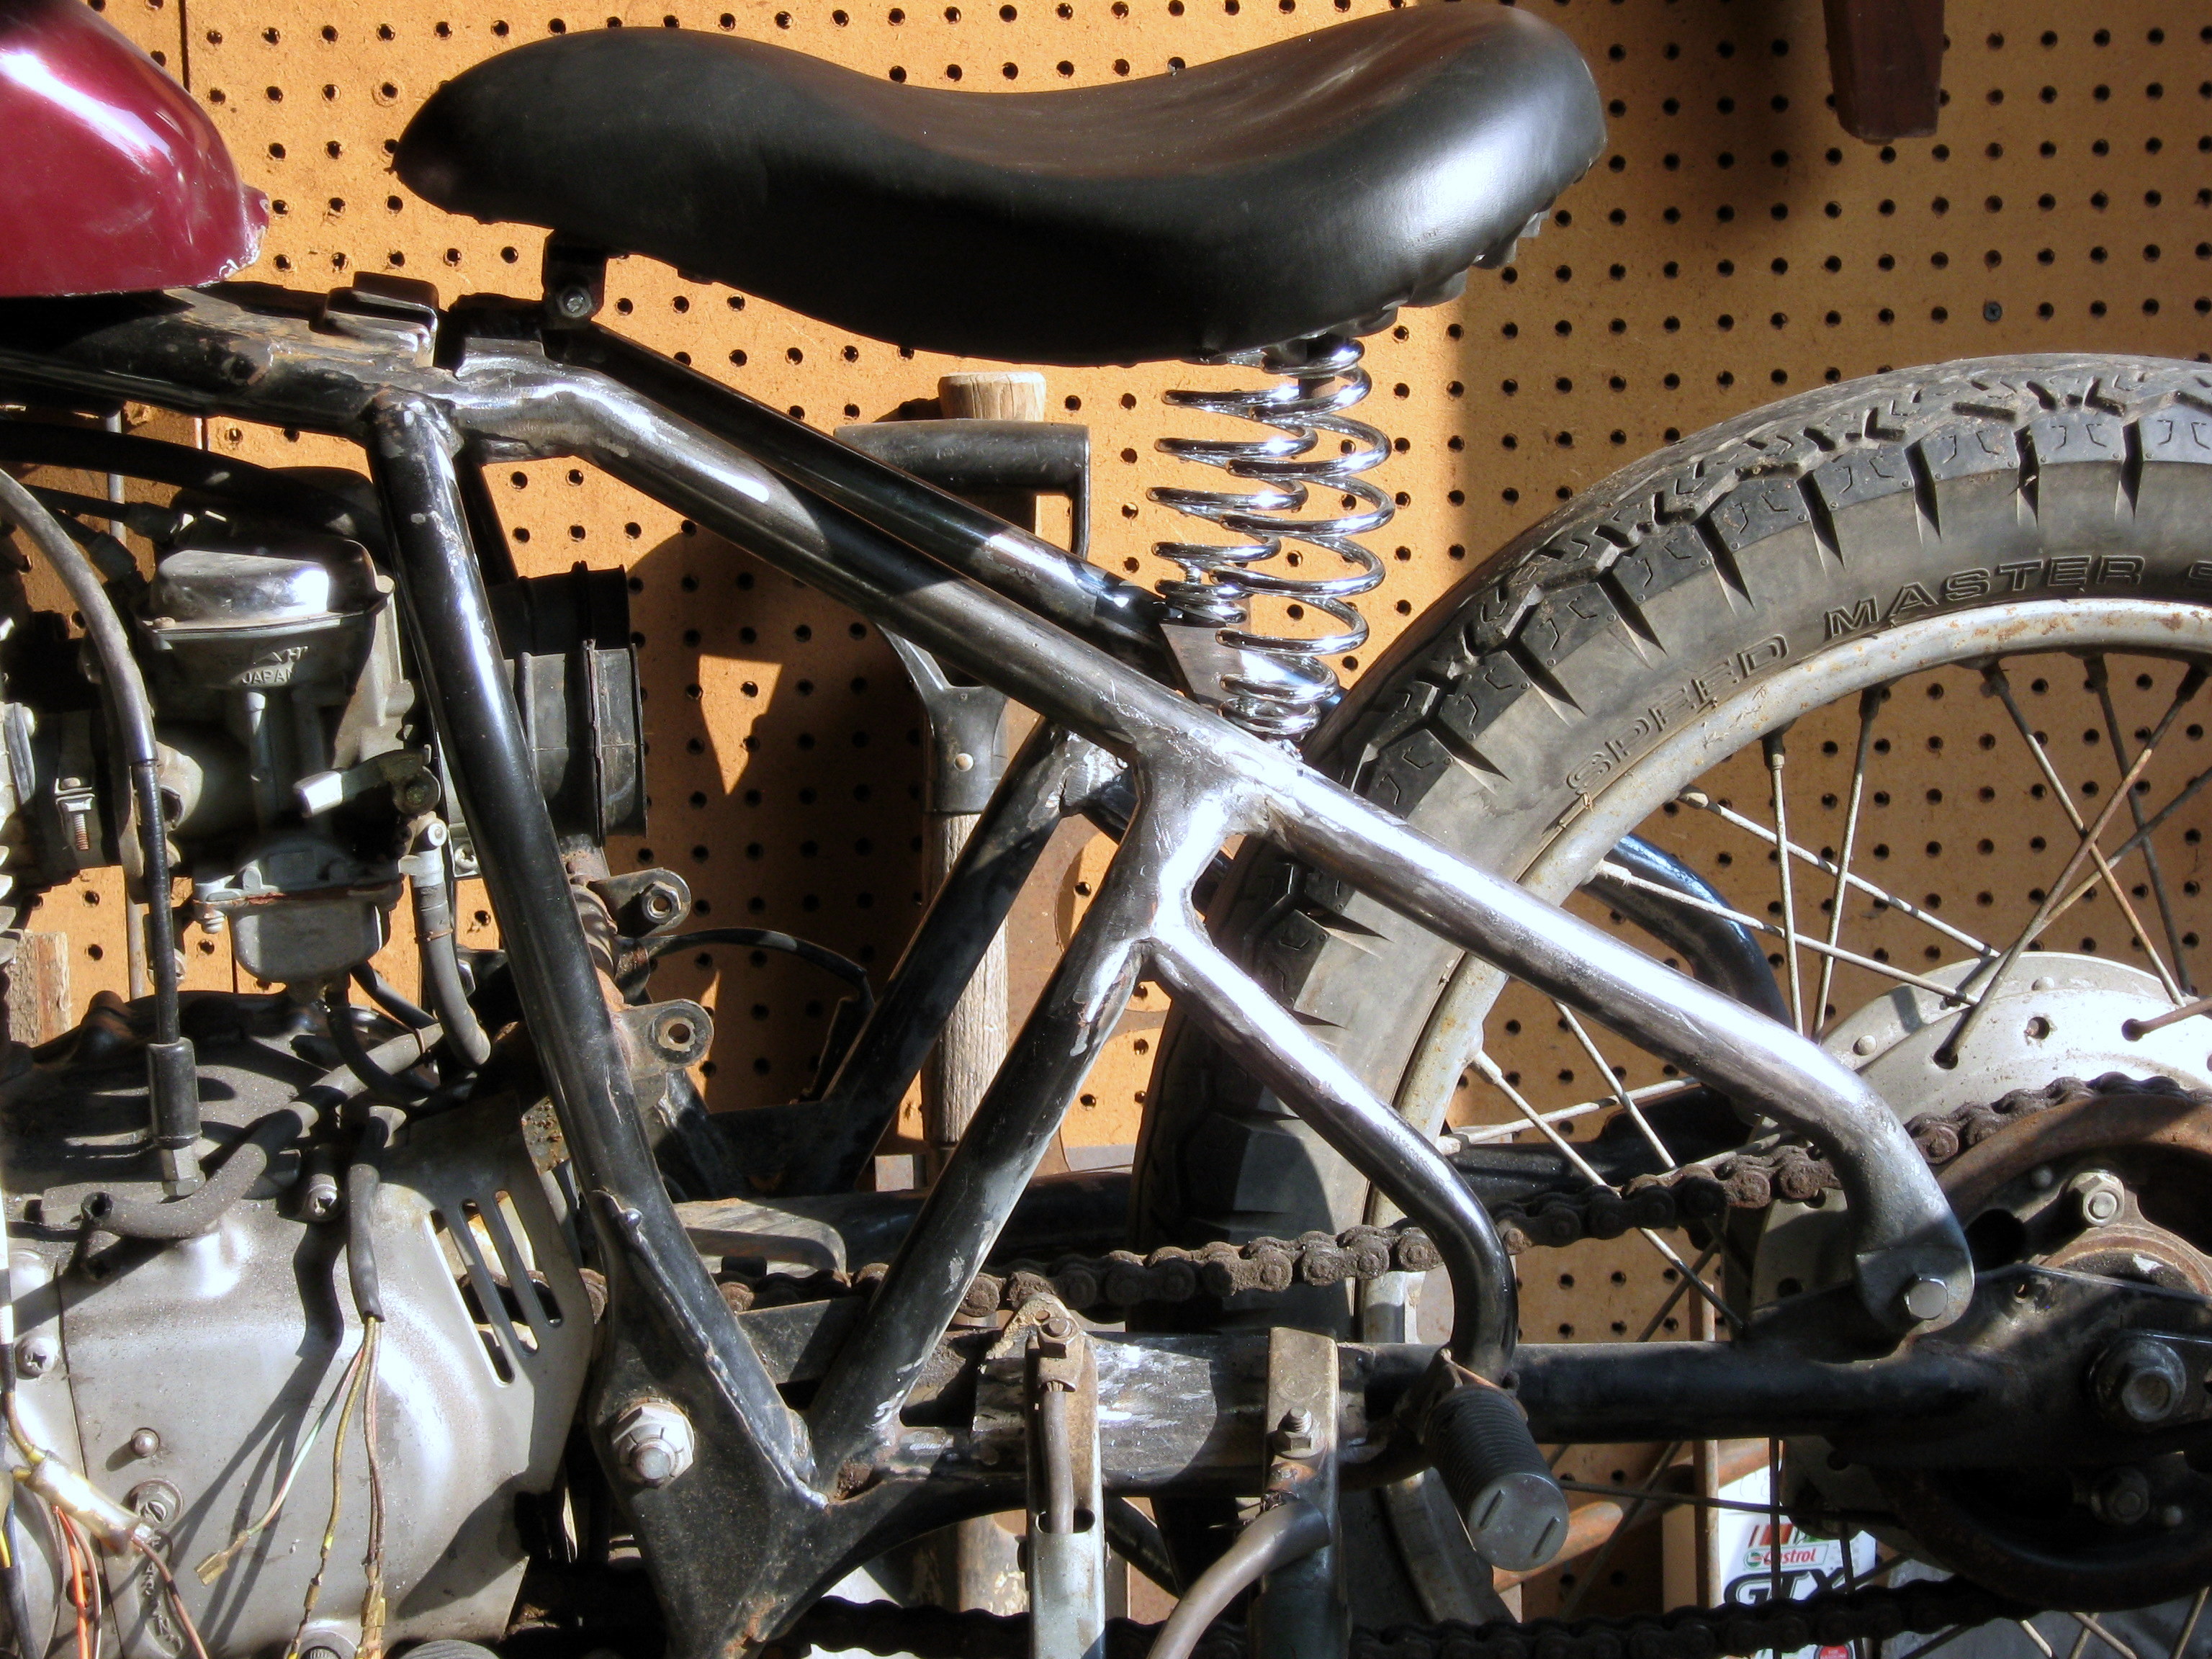
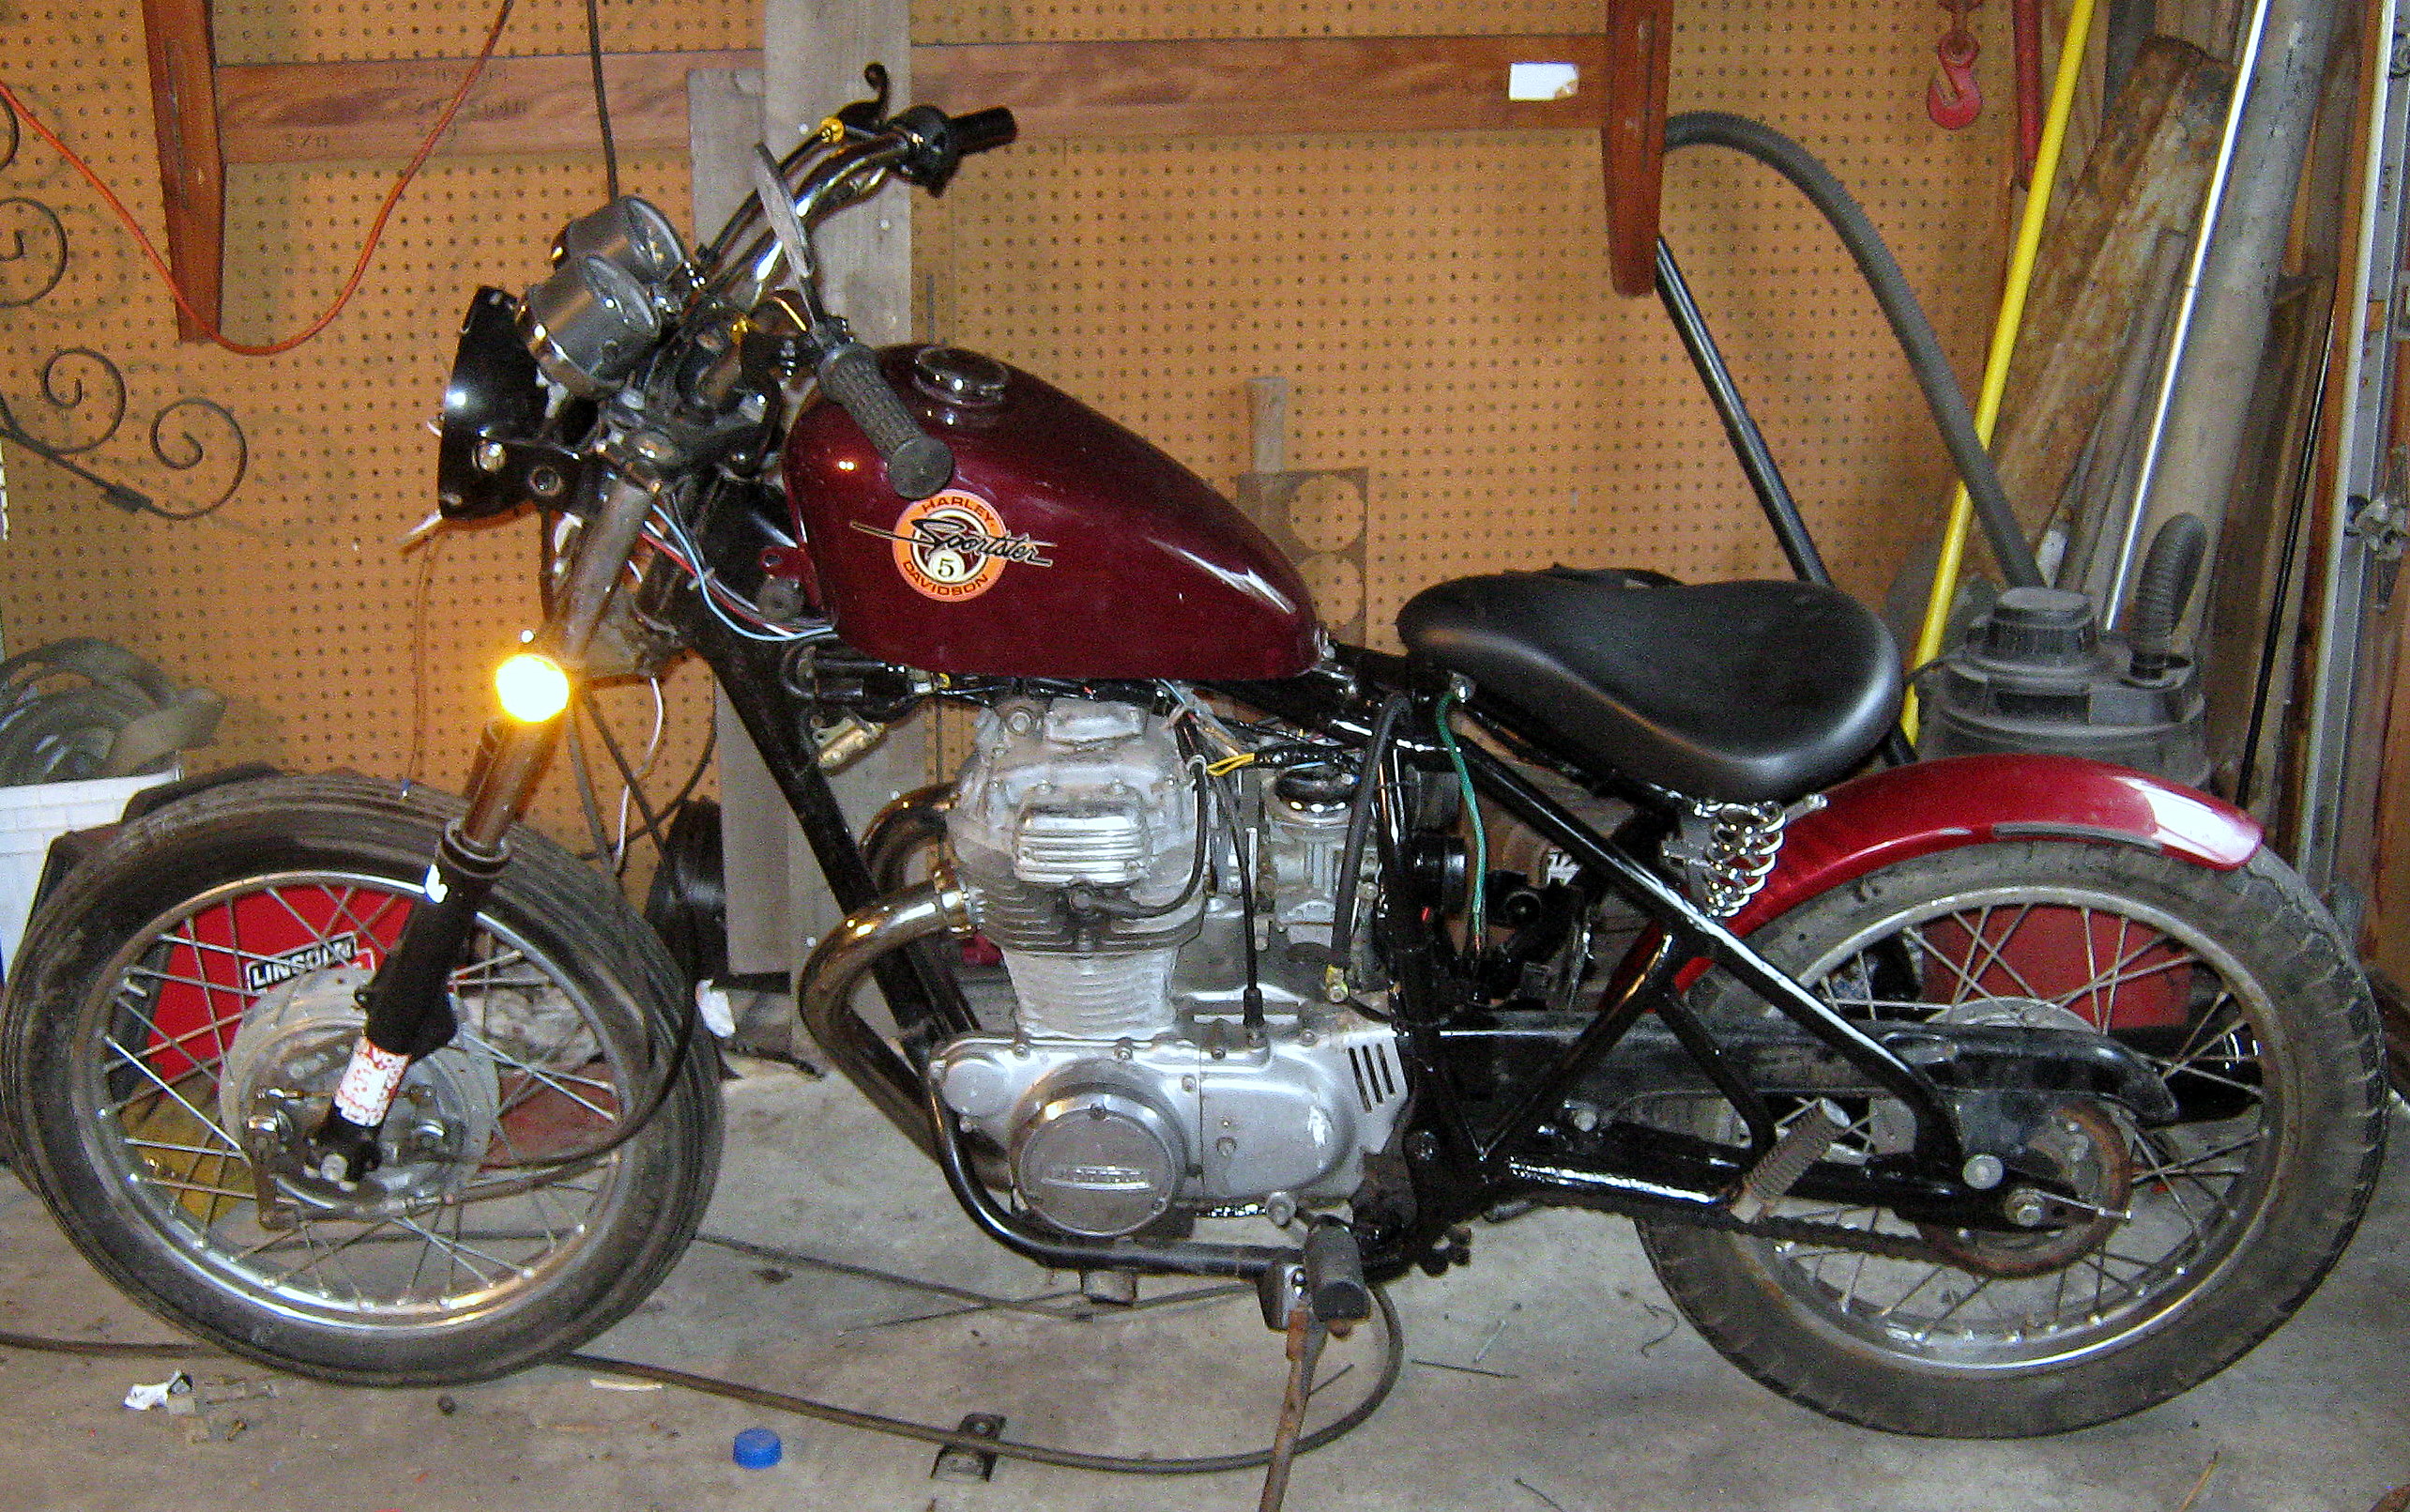
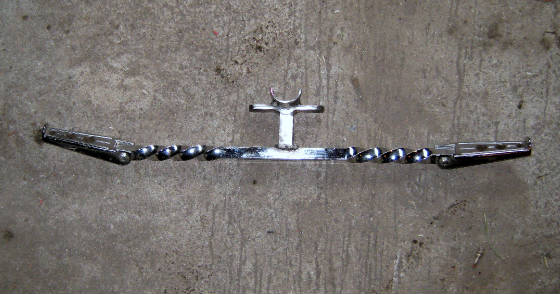
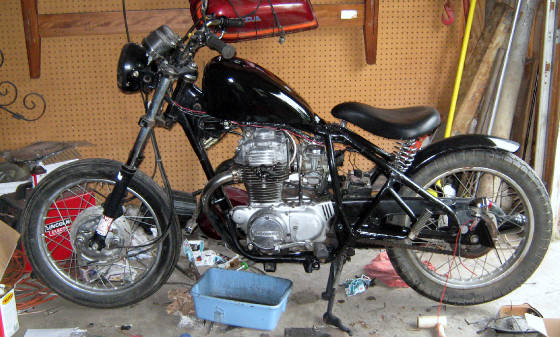
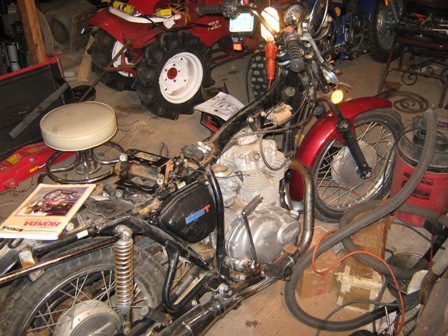
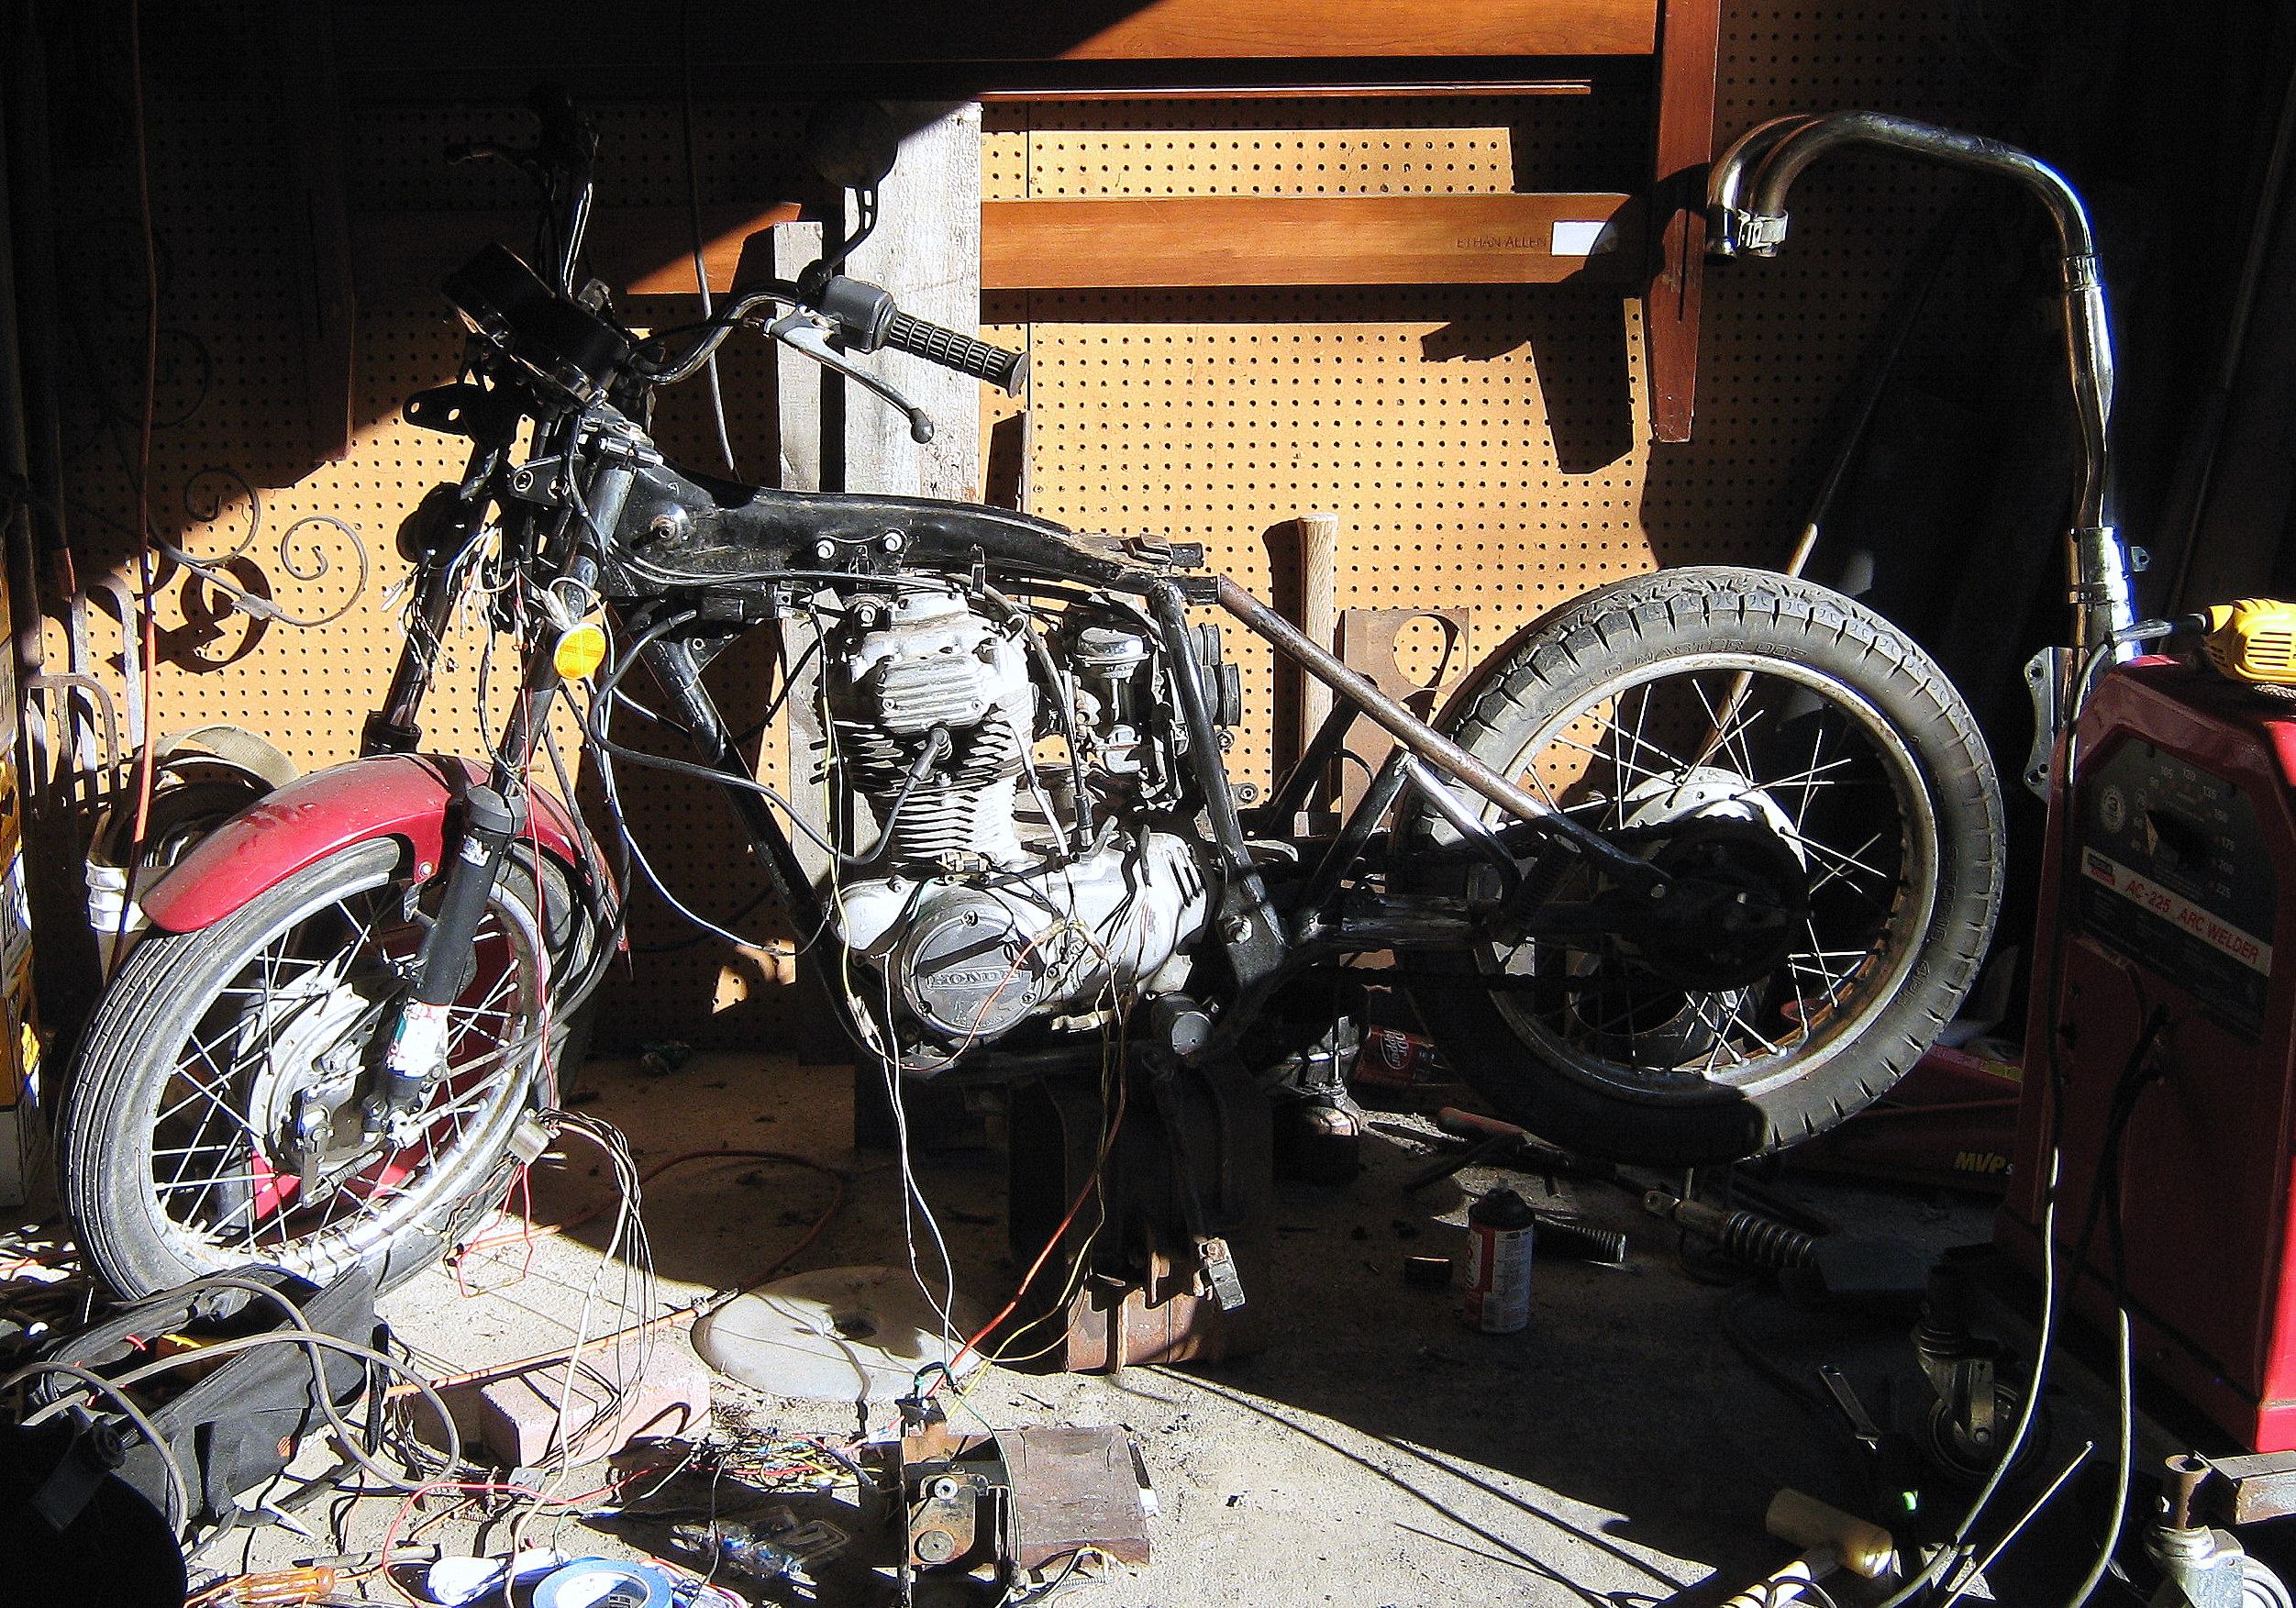
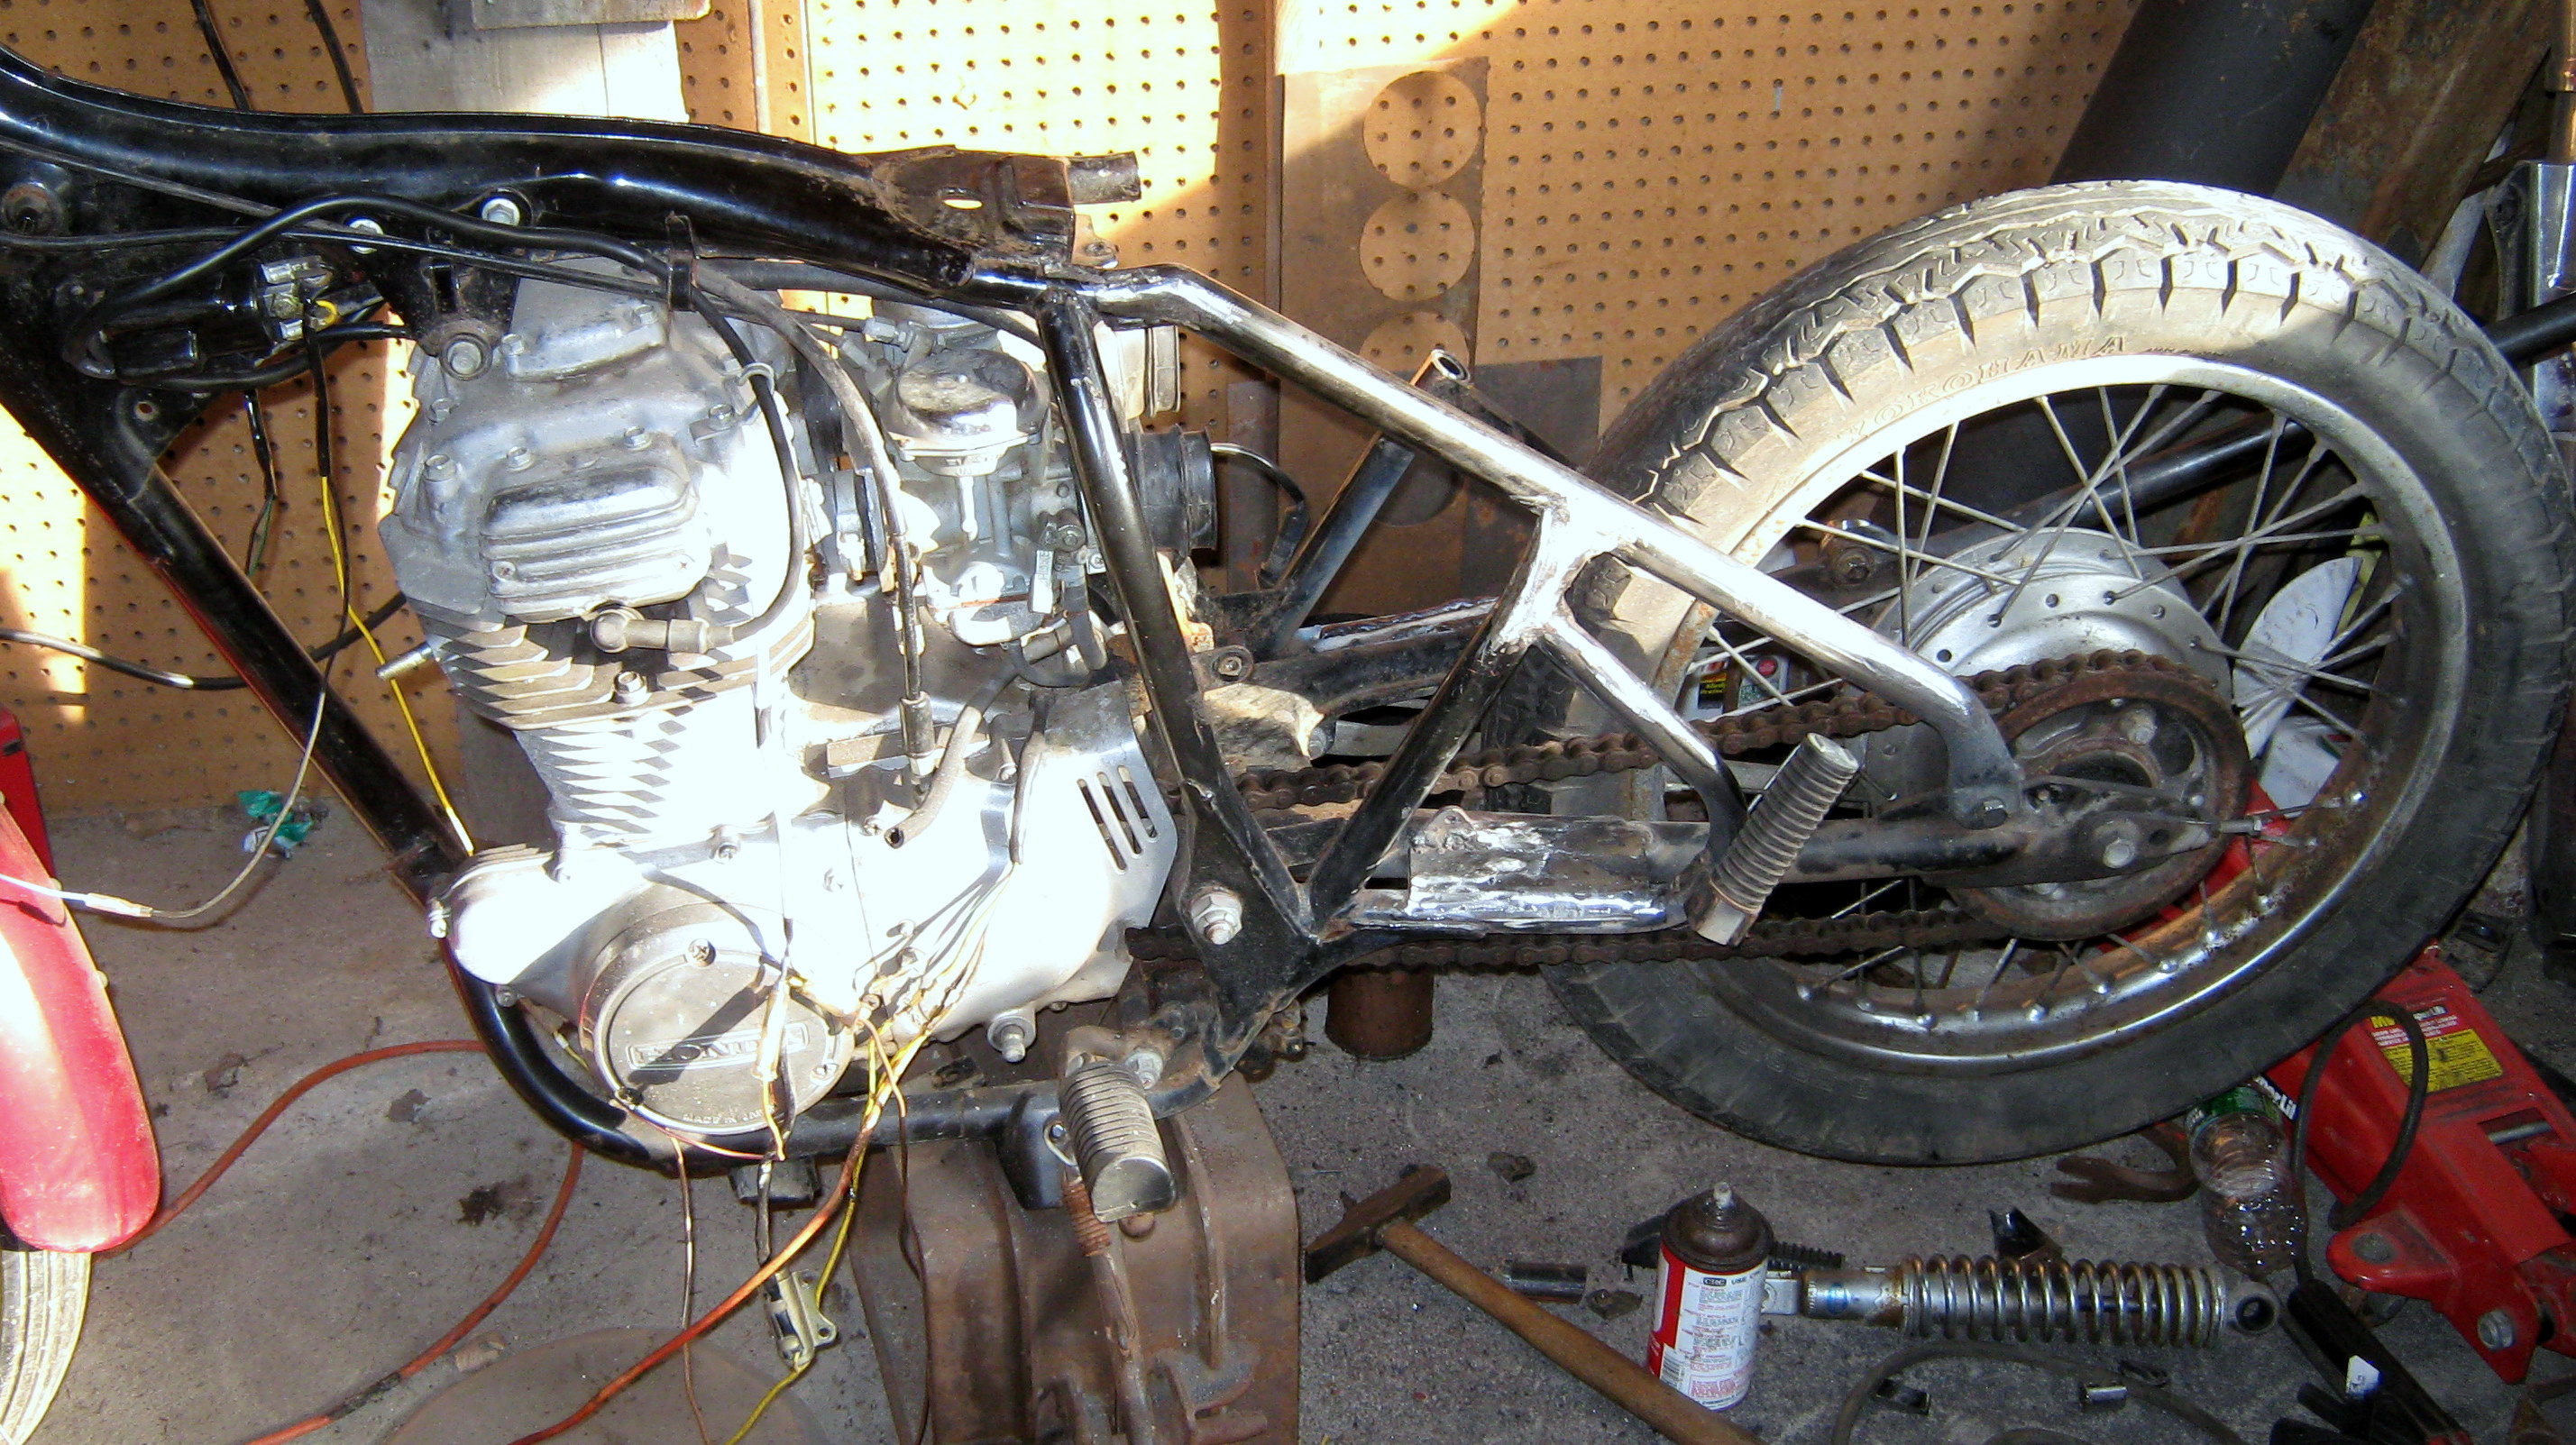
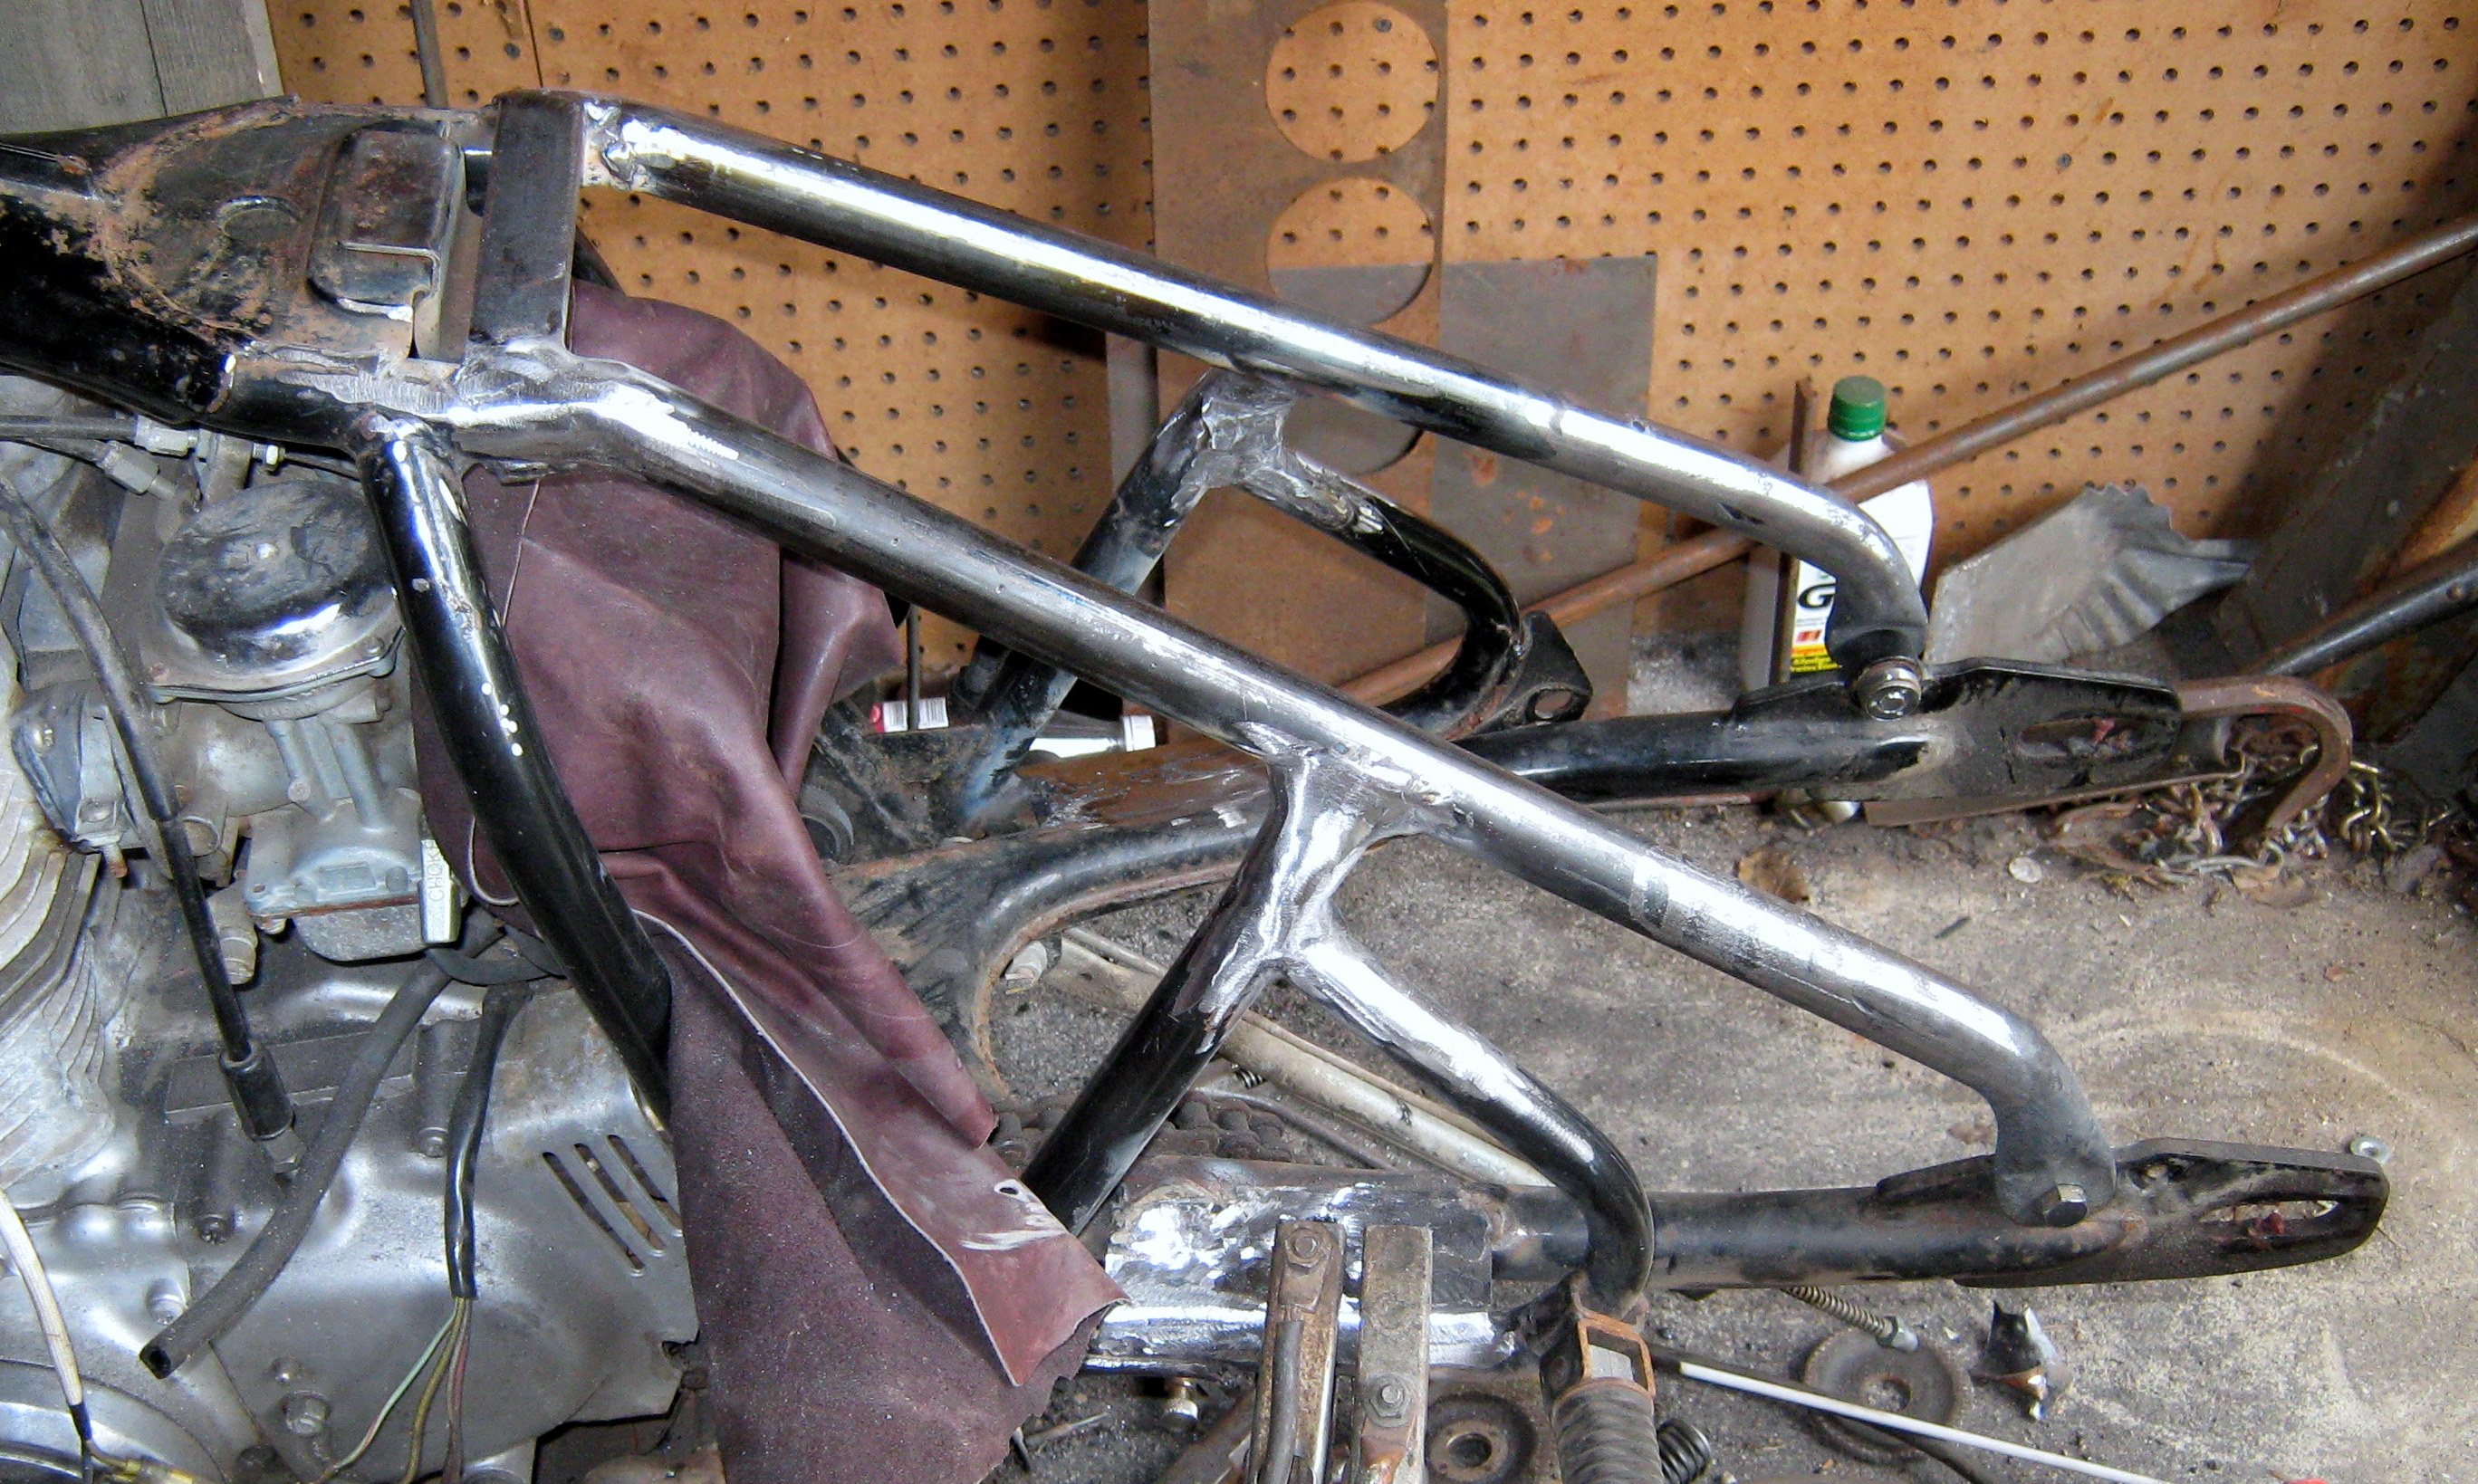
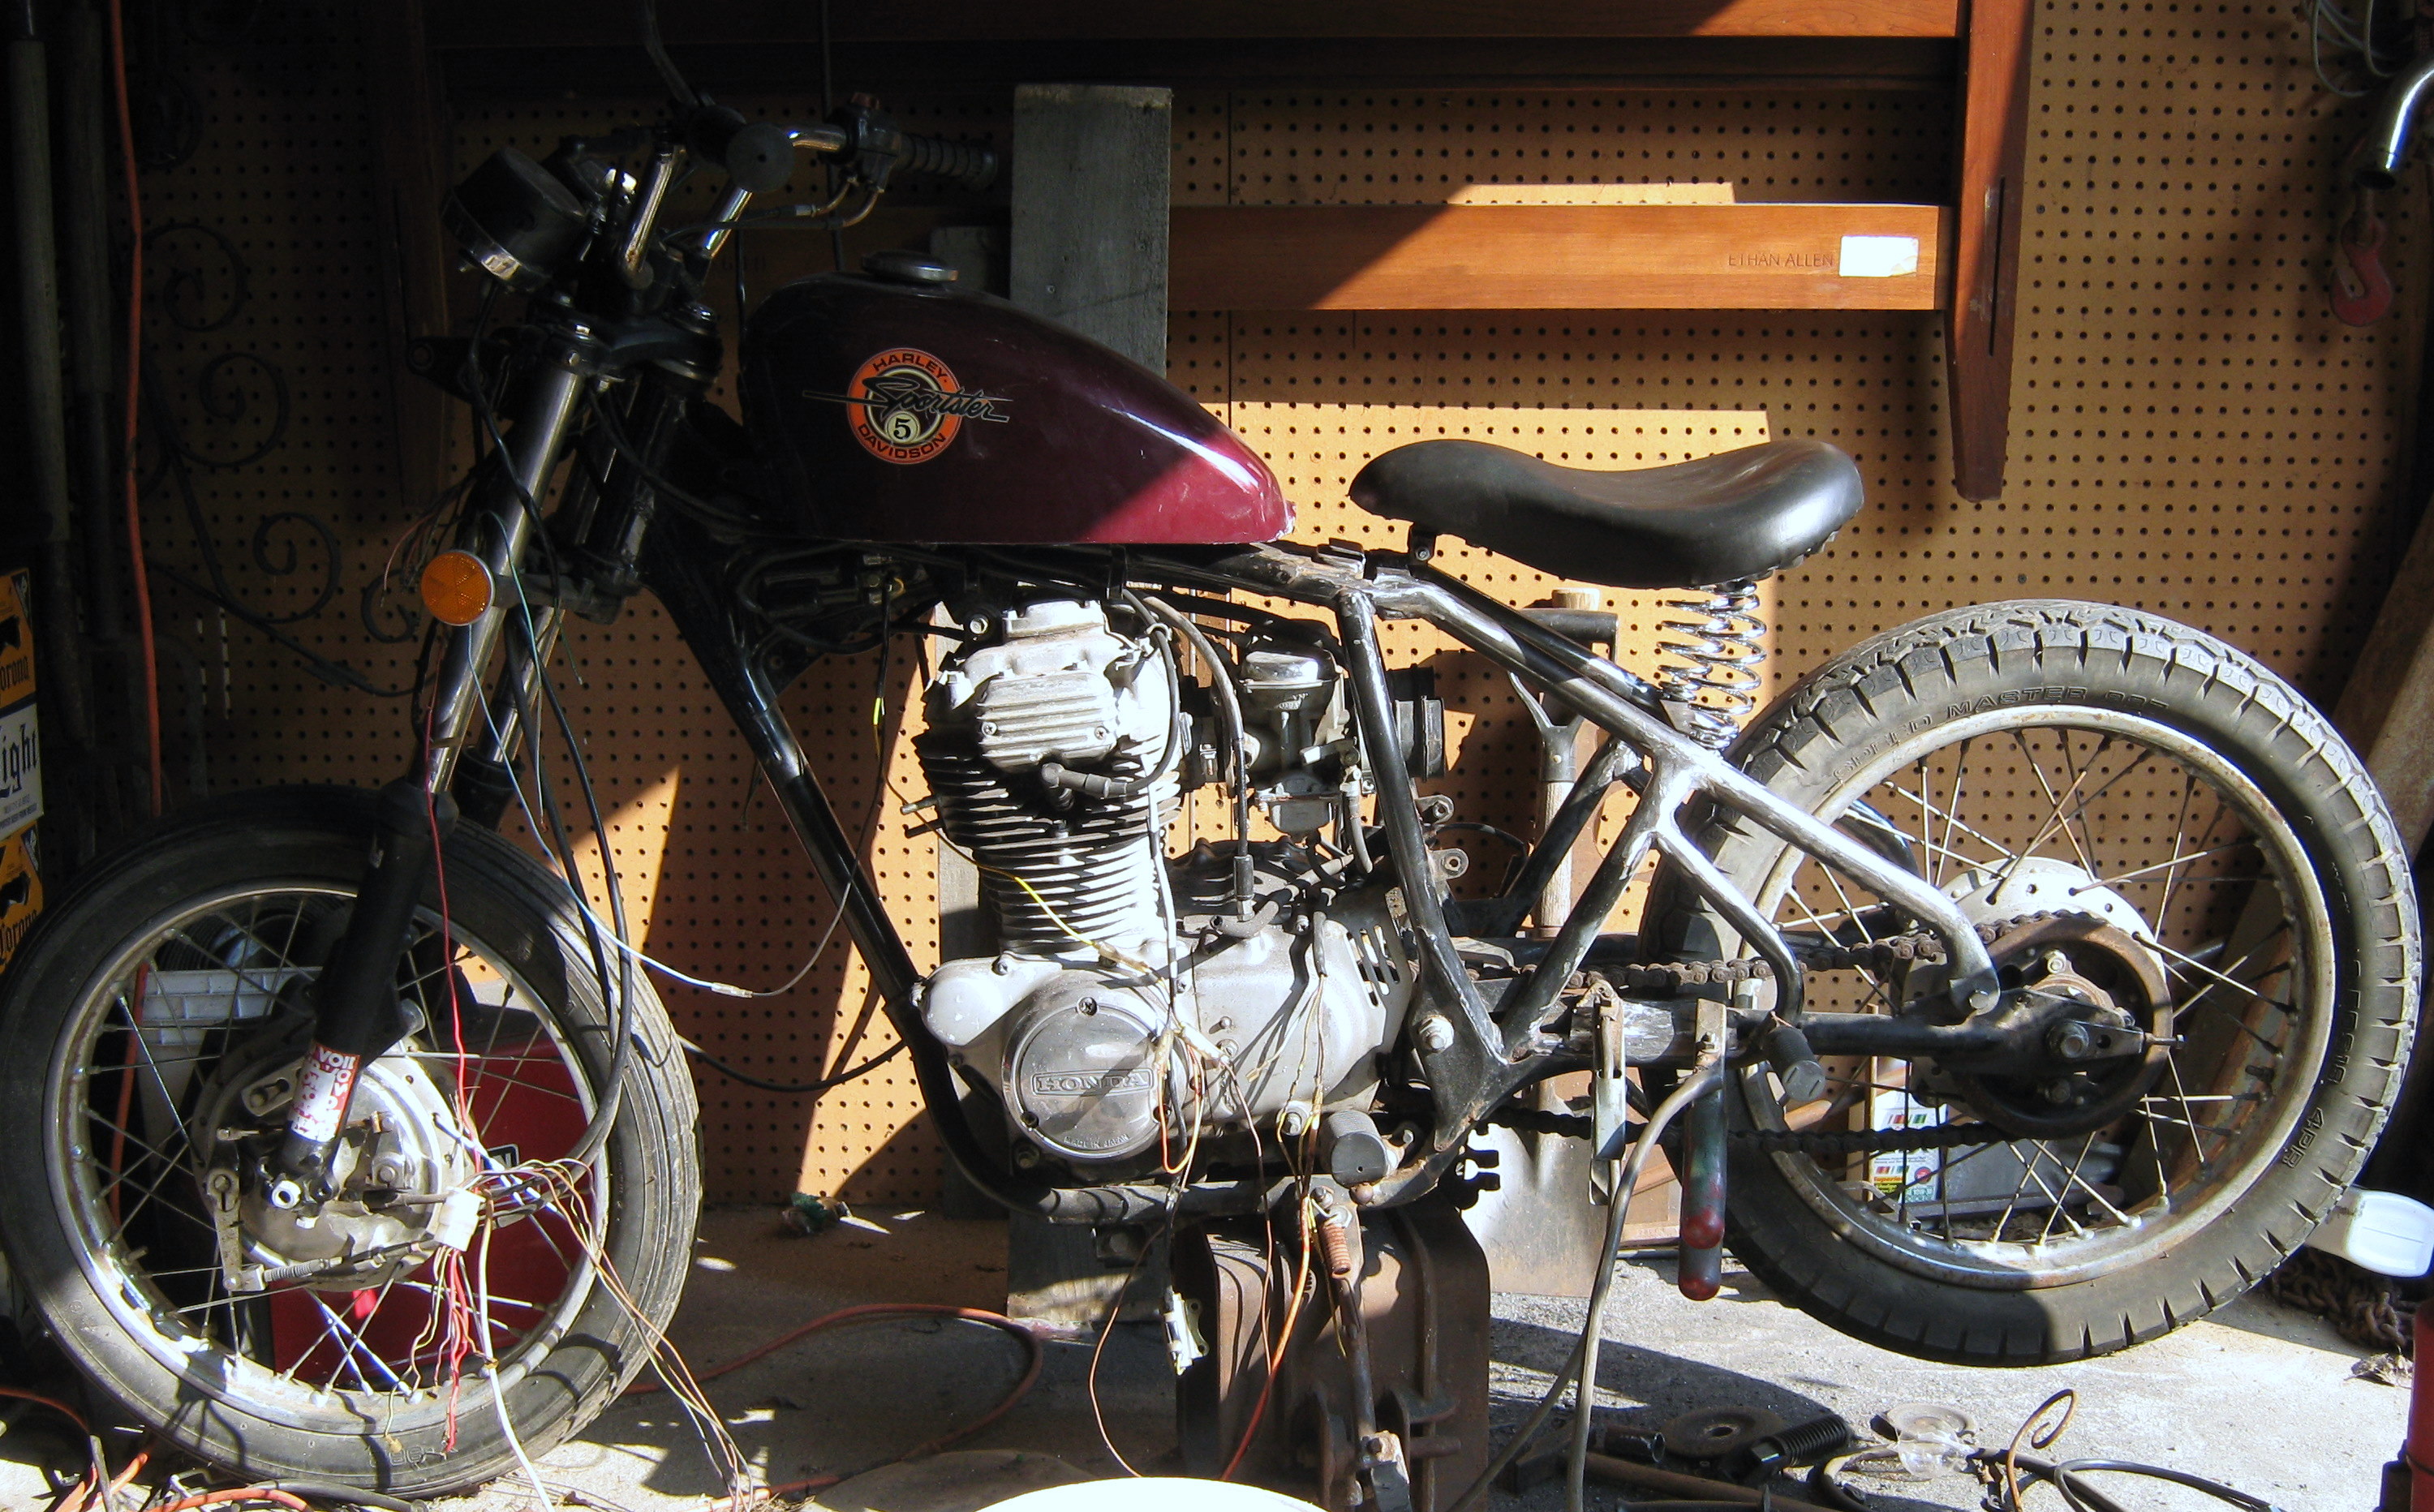
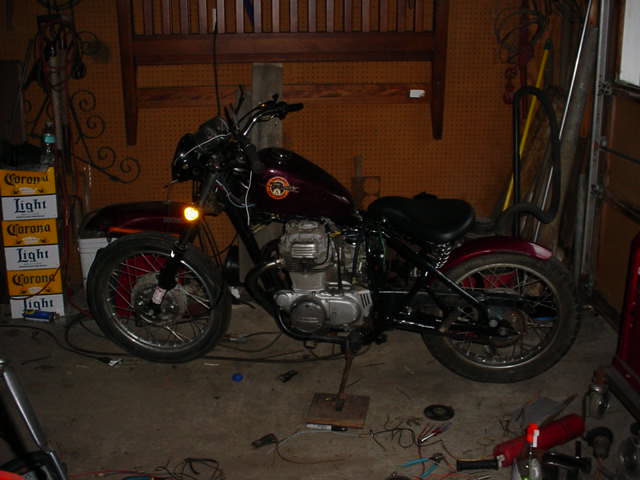
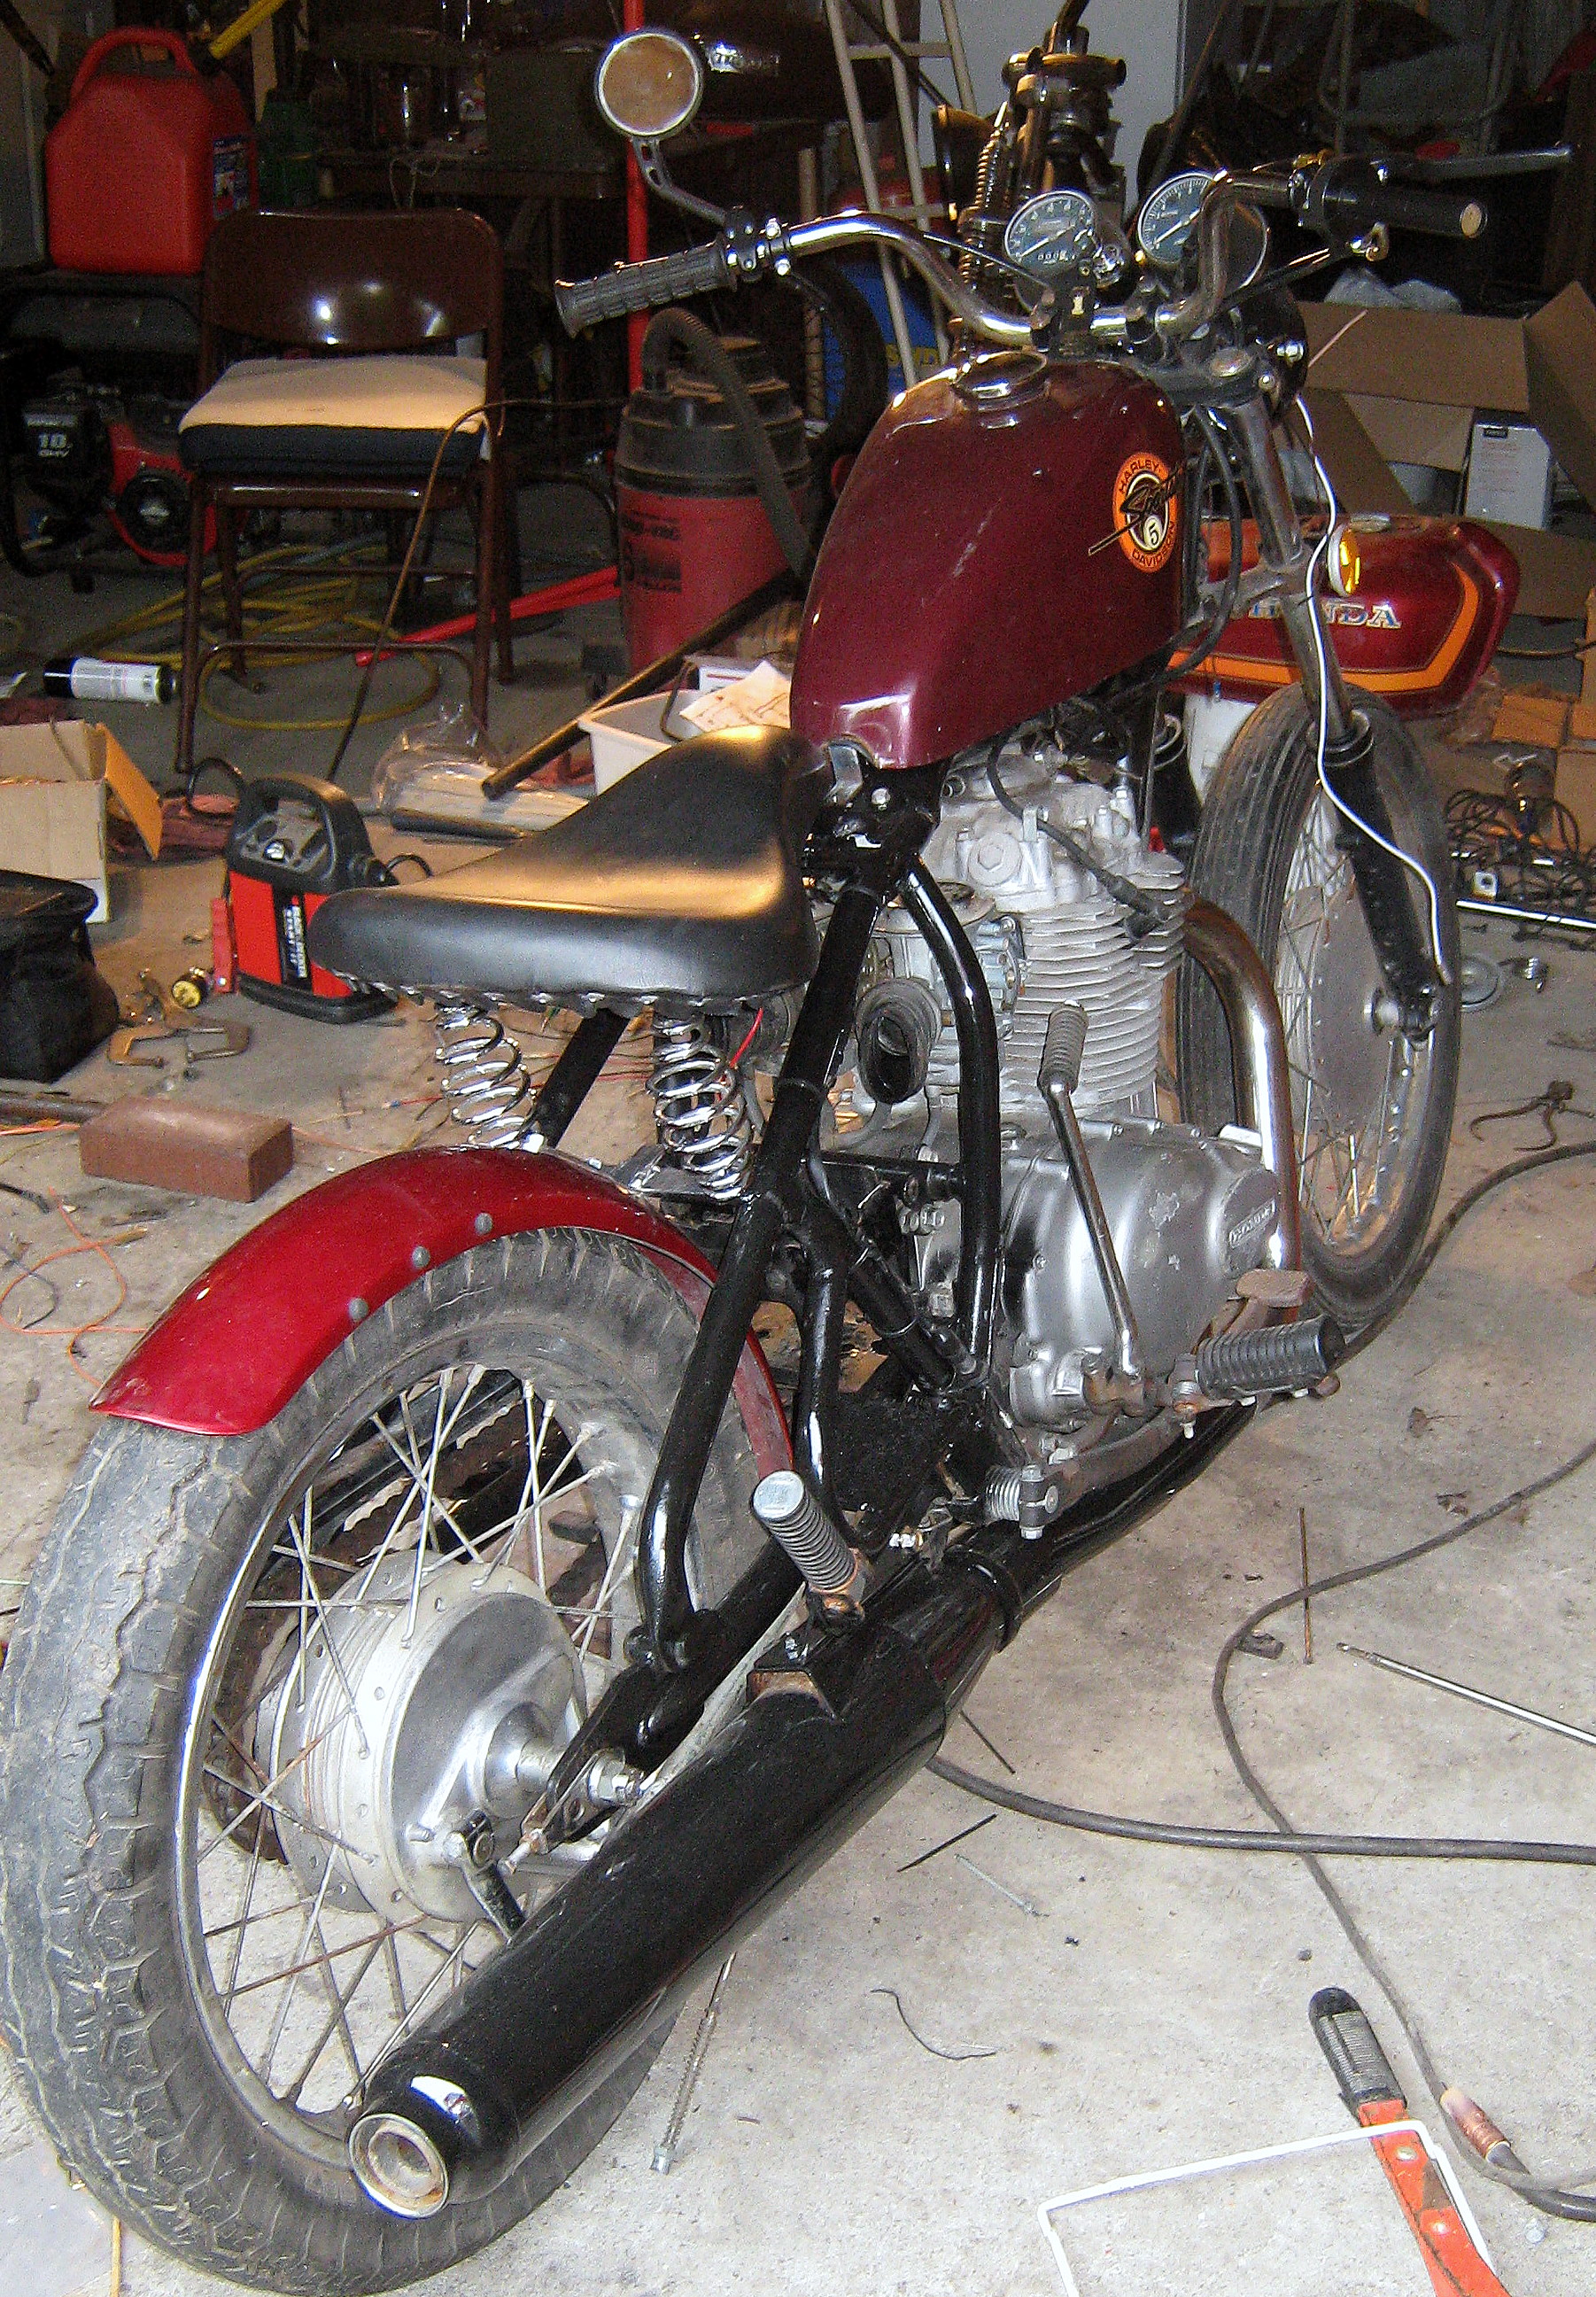
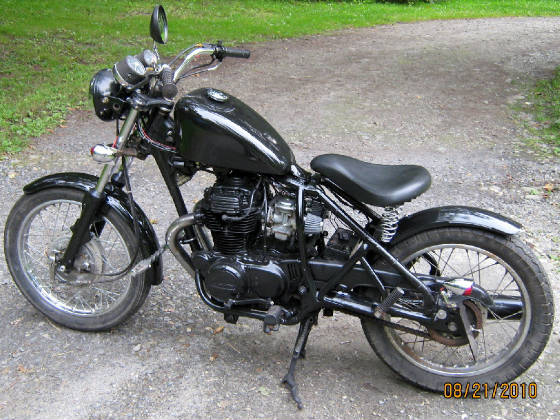
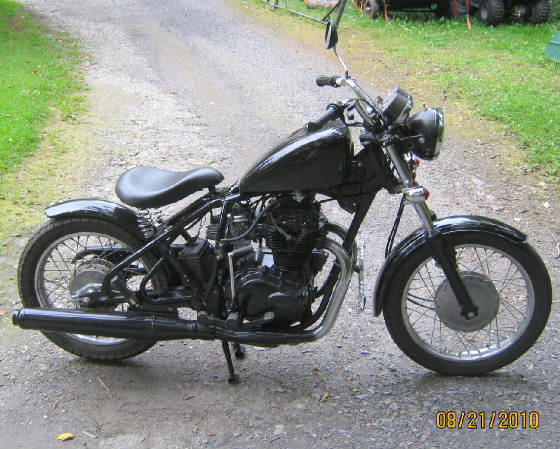
Hotanvil Forge

Bobber Build


Home | New Knives | About me | Teaching | Teaching Page 2 | Teaching page 3 | Teaching page 4 | Teaching page 5 | Teaching page 6 | Teaching page 7 | Teaching page 8 | Teaching page 9 | End of the class pictures | Teaching at The Lake Champlain Maritime Museum | Lake Champlain Maritime Museum teaching Page 2 | For sale | Knives Page 1 | Knives page 2 | Knives page 3 | Knife page 4 | Knife page 5 | Knife page 6 | Knives page 7 | Knives page 8 | Knives page 9 | Blade Page 10 | Wedding party Knives | Early knives | Knives in the making | knives being worked on | More Blades in the making | Page 2 Knives in the works | Knives in the works 3 | Forge work | Playin in the Shop | Blacksmithing page 1 | Blacksmithing page 2 | Blacksmithing page 3 | Blacksmithing page 4 | Blacksmithing Page 5 | Blacksmithing page 6 | Blacksmithing page 7 | Hammer Class | The Rose Page | Bobber Build | SOLD/Knives I have moved off the for sale page | Demo page | Champlain Maritime Museum | Museum page 2 | Tools page | The Mini Hydraulic press | Sawmill page | Air Hammer Page | In the shop and, At work | My last Shop | The Shop Tour | Favorite Knife Makin Books | People page | Hunt of a Lifetime | Hunt Of A Lifetime | Fly Fishing Adventures | Wyoming Adventure | Links | My little Buddies | Trade offer | The End


A while ago I picked up a 1977 Honda CJ 360 T. This spring began the "CHOP"
I removed the tail end of the frame that basicly held the seat.The swing arm I just welded in place other than trying to build the whole back end I figured it was easier to use part of what was already there to make things easier.I welded a piece of 1/4 X 1 onto the swingarm and the frame that holds the rear footpegs.I next tried a couple of different ways to attach from the end of the swingarm up to the frame where it was cut off just in front of the seat.I ended up putting a slight bend in my bar right where it is attached to the swingarm.I made one side and began the process of fitting it in and and welding it to the rest of the frame.Once I had one side the way I wanted it was easy to repeat it for the other side.I took the front fender off which is all plastic and used it as my rear fender.It tapers toward the front so I put that towards the front and did not need to remove any for chain clearence.Plus it really fits the tire.Once everything was all welded I cleaned up all the welds painted it and began putting it all back together. I had been messing with the electrics all winter and had not been able to get a spark out of it despite having bought numerous sets of coils from E-bay all if which turned out to be useless crap.I finally broke down and with some online help and bought a set of Emgo coils for it. Hooked everything back up kicked it over and the Bobber roared to life. I just need to clean up my wiring and I can then get it timed and tuned so this litte Bobber can fly.
Next up is my Truimph T-100. Thats for a new page however.


a.jpg
The Honda before the chop

c.jpg
The back end chopped starting to fit tubing

e.jpg
Put a bend at the end attaching to the swingarm

g.jpg
Opposite side all welded

i.jpg
The seat in place

l.jpg
Yep starting to look like a BOBBER

n.jpg
I needed highway bars so I made a set.Just needs a U bolt

o.jpg
Found a better tank/It fits the bike better

p.jpg
This tank also fits better with the wide seat


b.jpg
Stripping it down some

d.jpg
not liking how it sits and looks

f.jpg
One side all welded up

h.jpg
The other side made and starting to weld in place

j.jpg
Getting the seat framed in

k.jpg
Starting to really look like a BOBBER now

m.jpg
The other side.

bobbed2.jpg
Much better

bobbed1.jpg
"Lil Bob"